Einführung
Die Konfiguration und Management von mehreren Servern ist eine Zeit intensive Aufgaben in der heutige IT. Das Produkt Ansible adressiert diese Problematik und unterstütz die automatische Administration aus einem zentralen Ort.
Es gibt mehrere Konfiguration und Management (u.a. Chef und Puppet) für Linux Systeme, die aber eine höhere Komplexität mitbringen. Ansible scheint eine alternative mit niedrigerem Overhead und bietet schnelleren Einstieg.
Kommunikation
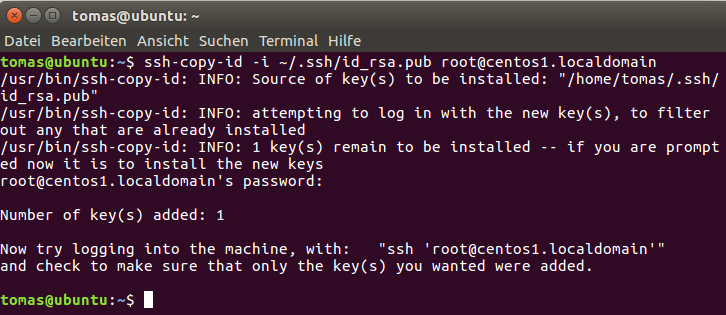
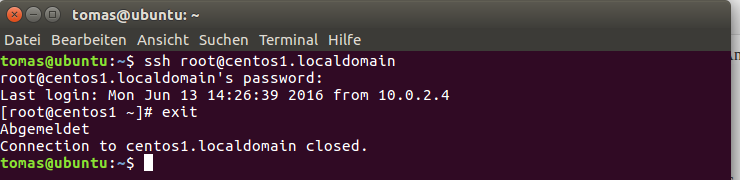
Ansible führt die gewollten Anpassungen am Zielsystem ausschließlich über ssh. Damit ist kein zusätzlichen Paket / Software / Client am Zielsystem benötigt.
Die Ansible Module können in beliebige Sprache geschrieben werden und die Kommunikation wird über JSON Standardabgewickelt. Die Modul-Konfiguration wird mit YAML definiert.
Ansible kommuniziert mit dem Zielsystem entweder über command line oder über die Playbooks (Konfiguration Skripte).
Installation
(1) Install Ansible PPA
$ sudo apt-get install software-properties-common
Paketlisten werden gelesen... Fertig
Abhängigkeitsbaum wird aufgebaut.
Statusinformationen werden eingelesen.... Fertig
software-properties-common is already the newest version (0.96.20).
software-properties-common wurde als manuell installiert festgelegt.
0 aktualisiert, 0 neu installiert, 0 zu entfernen und 245 nicht aktualisiert.
$ sudo apt-add-repository ppa:ansible/ansible
 Ansible is a radically simple IT automation platform that makes your applications and systems easier to deploy. Avoid writing scripts or custom code to deploy and update your applications— automate in a language that approaches plain English, using SSH, with no agents to install on remote systems.

http://ansible.com/
 Mehr Informationen: https://launchpad.net/~ansible/+archive/ubuntu/ansible
Drücken Sie [ENTER], um fortzufahren oder Strg-c, um das Hinzufügen abzubrechen
Mögliche Fehlermeldung (1)
Traceback (most recent call last):
  File "/usr/lib/python3.5/urllib/request.py", line 1243, in do_open
    h.request(req.get_method(), req.selector, req.data, headers)
  File "/usr/lib/python3.5/http/client.py", line 1106, in request
    self._send_request(method, url, body, headers)
  File "/usr/lib/python3.5/http/client.py", line 1151, in _send_request
    self.endheaders(body)
  File "/usr/lib/python3.5/http/client.py", line 1102, in endheaders
    self._send_output(message_body)
  File "/usr/lib/python3.5/http/client.py", line 934, in _send_output
    self.send(msg)
  File "/usr/lib/python3.5/http/client.py", line 877, in send
    self.connect()
  File "/usr/lib/python3.5/http/client.py", line 1252, in connect
    super().connect()
  File "/usr/lib/python3.5/http/client.py", line 849, in connect
    (self.host,self.port), self.timeout, self.source_address)
  File "/usr/lib/python3.5/socket.py", line 693, in create_connection
    for res in getaddrinfo(host, port, 0, SOCK_STREAM):
  File "/usr/lib/python3.5/socket.py", line 732, in getaddrinfo
    for res in _socket.getaddrinfo(host, port, family, type, proto, flags):
socket.gaierror: [Errno -2] Der Name oder der Dienst ist nicht bekannt

During handling of the above exception, another exception occurred:

Traceback (most recent call last):
  File "/usr/lib/python3/dist-packages/softwareproperties/ppa.py", line 102, in _get_https_content_py3
    lp_page = urllib.request.urlopen(request, cafile=LAUNCHPAD_PPA_CERT)
  File "/usr/lib/python3.5/urllib/request.py", line 162, in urlopen
    return opener.open(url, data, timeout)
  File "/usr/lib/python3.5/urllib/request.py", line 465, in open
    response = self._open(req, data)
  File "/usr/lib/python3.5/urllib/request.py", line 483, in _open
    '_open', req)
  File "/usr/lib/python3.5/urllib/request.py", line 443, in _call_chain
    result = func(*args)
  File "/usr/lib/python3.5/urllib/request.py", line 1286, in https_open
    context=self._context, check_hostname=self._check_hostname)
  File "/usr/lib/python3.5/urllib/request.py", line 1245, in do_open
    raise URLError(err)
urllib.error.URLError:

During handling of the above exception, another exception occurred:

Traceback (most recent call last):
  File "/usr/lib/python3/dist-packages/softwareproperties/ppa.py", line 327, in get_ppa_info
    ret = get_ppa_info_from_lp(user, ppa)
  File "/usr/lib/python3/dist-packages/softwareproperties/ppa.py", line 92, in get_ppa_info_from_lp
    return get_info_from_lp(lp_url)
  File "/usr/lib/python3/dist-packages/softwareproperties/ppa.py", line 88, in get_info_from_lp
    return _get_https_content_py3(lp_url)
  File "/usr/lib/python3/dist-packages/softwareproperties/ppa.py", line 108, in _get_https_content_py3
    raise PPAException("Error reading %s: %s" % (lp_url, reason), e)
softwareproperties.ppa.PPAException: 'Error reading https://launchpad.net/api/1.0/~ansible/+archive/ubuntu/ansible: [Errno -2] Der Name oder der Dienst ist nicht bekannt'

During handling of the above exception, another exception occurred:

Traceback (most recent call last):
  File "/usr/lib/python3/dist-packages/softwareproperties/ppa.py", line 393, in shortcut_handler
    return PPAShortcutHandler(shortcut)
  File "/usr/lib/python3/dist-packages/softwareproperties/ppa.py", line 356, in __init__
    info = get_ppa_info(self.shortcut)
  File "/usr/lib/python3/dist-packages/softwareproperties/ppa.py", line 339, in get_ppa_info
    _get_suggested_ppa_message(user, ppa))
softwareproperties.shortcuts.ShortcutException: Cannot add PPA: 'ppa:~ansible/ubuntu/ansible'.
ERROR: '~ansible' user or team does not exist.
Fehler: »ppa:ansible/ansible« ist ungültig!
Behebung
sudo visudo und folgende Zeile am Ende hinzufügen
Defaults env_keep="https_proxy"
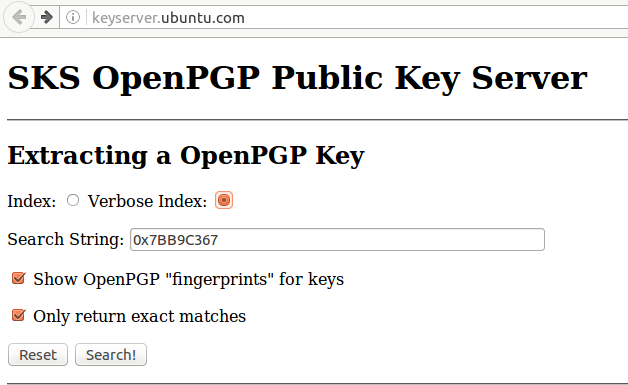
Mögliche Fehlermeldung (2)
?: keyserver.ubuntu.com: Host not found
gpg: Schlüsselbund `/tmp/tmpx720827l/secring.gpg' erstellt
gpg: Schlüsselbund `/tmp/tmpx720827l/pubring.gpg' erstellt
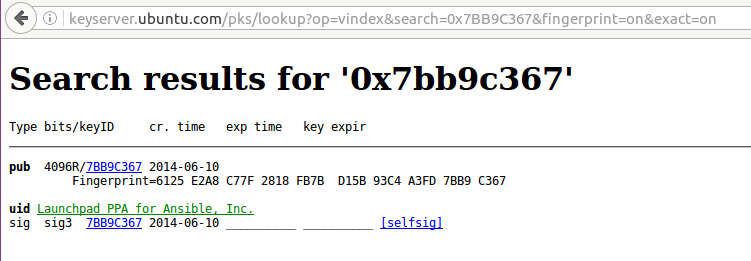
gpg: Schlüssel 7BB9C367 von hkp-Server keyserver.ubuntu.com anfordern
?: keyserver.ubuntu.com: Host not found
gpgkeys: HTTP fetch error 7: couldn't connect: Success
gpg: Keine gültigen OpenPGP-Daten gefunden.
gpg: Anzahl insgesamt bearbeiteter Schlüssel: 0
gpg: Schlüsselserver-Datenübertragunsfehler: keyserver unreachable
gpg: Schlüsselserver-Datenübertragunsfehler: Öffentlicher Schlüssel nicht gefunden
gpg: Empfangen vom Schlüsselserver fehlgeschlagen: Öffentlicher Schlüssel nicht gefunden
Lösung ist in separatem Beitrag (TODO)
(2) Die Systempakete müssen geupdatet werden und Ansible installieren
sudo apt-get update
sudo apt-get install ansible
Paketlisten werden gelesen... Fertig
Abhängigkeitsbaum wird aufgebaut.
Statusinformationen werden eingelesen.... Fertig
The following additional packages will be installed:
  python-crypto python-ecdsa python-httplib2 python-jinja2 python-markupsafe python-paramiko python-pkg-resources python-setuptools python-six python-yaml sshpass
Vorgeschlagene Pakete:
  python-crypto-dbg python-crypto-doc python-jinja2-doc python-setuptools-doc
Die folgenden NEUEN Pakete werden installiert:
  ansible python-crypto python-ecdsa python-httplib2 python-jinja2 python-markupsafe python-paramiko python-pkg-resources python-setuptools python-six python-yaml
  sshpass
0 aktualisiert, 12 neu installiert, 0 zu entfernen und 245 nicht aktualisiert.
Es müssen 2.182 kB an Archiven heruntergeladen werden.
Nach dieser Operation werden 13,8 MB Plattenplatz zusätzlich benutzt.
Möchten Sie fortfahren? [J/n] J
Holen:1 http://de.archive.ubuntu.com/ubuntu xenial/main amd64 python-markupsafe amd64 0.23-2build2 [15,5 kB]
...
sshpass (1.05-1) wird eingerichtet ...
ansible (2.1.0.0-1ppa~xenial) wird eingerichtet ...
Konfiguration
Die Ansible Installation ist somit abgeschlossen, die Konfiguration wird im separatem Beitrag erwähnt.